
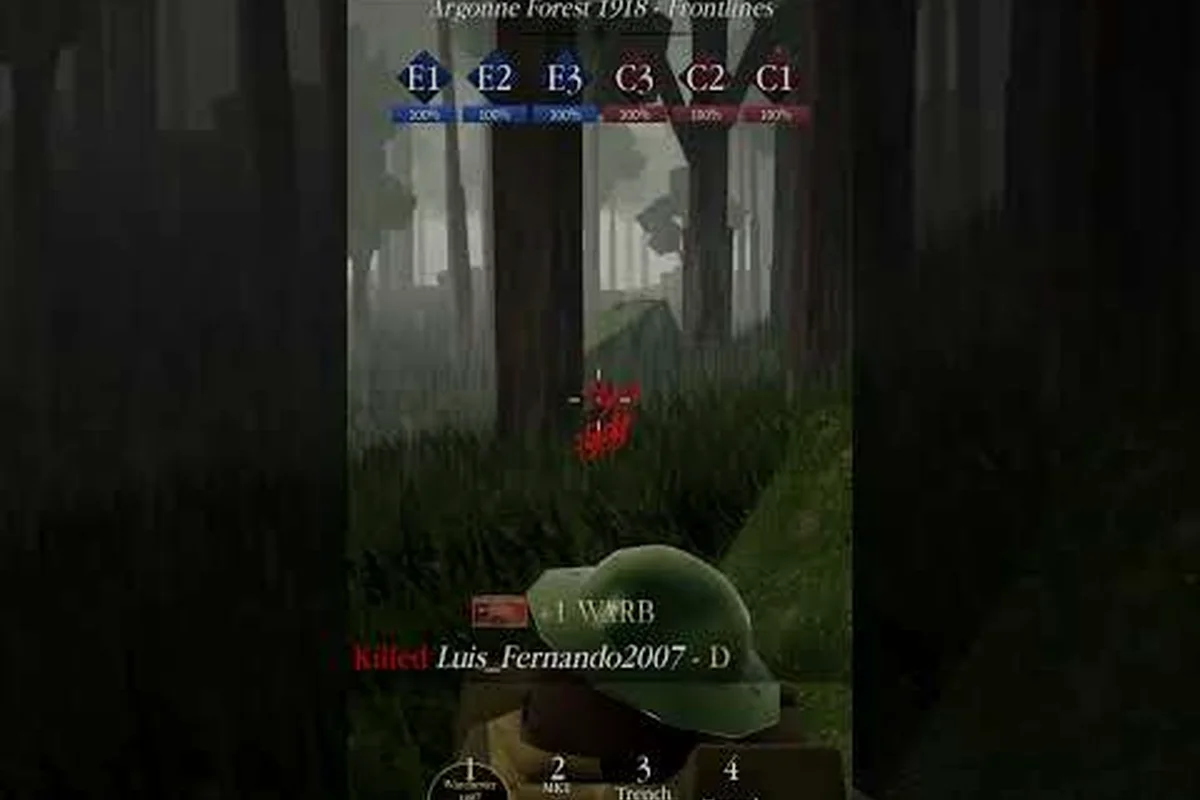
The ENTRENCHED M1911 is the default sidearm for most classes in this WW1-themed Roblox shooter, and it plays a far bigger role than most players give it credit for. While the bolt-action rifles dominate the trench lines at range, the M1911 is what wins the fights that happen inside the dugouts, around blind corners, and during the frantic seconds after a failed bayonet charge. Because the game's turn-based Frontlines and perpetual Conquest modes constantly force close-quarters encounters, understanding this pistol's exact damage profile, swap speed, and practical limits directly translates into more kills and fewer trips to the respawn screen.
The M1911 sits in an interesting spot because it is not the flashiest weapon in the arsenal, but it is the most reliable backup you can carry. When your rifle runs dry mid-push or an enemy closes the gap faster than you can cycle the bolt, the sidearm is the difference between surviving and becoming another name on the kill feed. This guide breaks down the full stats, compares it against the other secondary options, and explains exactly when you should swap instead of trying to reload your primary.
ENTRENCHED M1911 Stats and Performance Breakdown
M1911 Swap Speed vs. Rifle Cycling on the Doiran Frontlines
On Doiran Frontlines, the M1911's draw time gives you a decisive edge during the 3-second window after a missed rifle bolt-cycle. A Gewehr 98 requires a full bolt pull (~1.8s) before your next shot, but swapping to the M1911 lets you fire 2 follow-up shots in that same span. Practice the swap-cancel: fire your rifle, immediately press the weapon-swap key, and hip-fire the M1911 while backpedaling into cover. This turns a whiffed shot into a kill instead of a reload-screen death.
M1911 as the Officer's Secondary for Domination Flag Captures
Domination's king-of-the-hill mode demands rapid class-switching, and the Officer class pairs best with the M1911. While your primary rifle excels at range, the M1911 covers the 10-meter blind spot when enemies rush the capture point. Use the Officer's whistle ability to rally teammates, then hold the flag with the M1911's quick draw—its fire rate lets you land 3 shots before a Sniper can scope in. This loadout sacrifices long-range power for objective-securing speed, ideal for the close-quarters brawls that decide Domination rounds.
The M1911 is a semi-automatic pistol chambered in .45 ACP, and its performance profile reflects that real-world heritage with a few game-specific tweaks. Based on community testing and data reported by players across the official Roblox page and the developer forum, the pistol delivers two-shot kills to the torso at close range and one-shot headshots within its effective damage falloff window. That headshot capability is the single most important reason to master this weapon, because it gives you a defensive option that can instantly end a rush without needing to land multiple follow-up shots.
The fire rate sits at roughly 300 rounds per minute when you click as fast as the game registers inputs, which means you can dump the entire 7-round magazine in under 1.5 seconds if you panic. The reload animation takes about 2.1 seconds from empty, and you can cancel it early with a weapon swap if you only need a couple of rounds back. Magazine capacity is 7 rounds with 21 in reserve, which is generous for a sidearm and lets you stay aggressive during extended close-quarters fights.
| Stat | ENTRENCHED M1911 Value | Notes |
|---|---|---|
| Damage (Close Range) | 50-55 per shot | Two-shot torso kill, one-shot headshot |
| Damage (Medium Range) | 35-40 per shot | Three-shot kill, falloff begins around 25 meters |
| Fire Rate | ~300 RPM | Semi-auto, click speed dependent |
| Magazine / Reserve | 7 / 21 | Total 28 rounds per spawn |
| Reload Time | 2.1 seconds | Can be canceled with weapon swap |
| Swap Speed | 0.4 seconds | Faster than any primary weapon swap |
| Effective Range | 0-20 meters | Beyond this, damage drops sharply |
The swap speed of 0.4 seconds is the hidden stat that makes the M1911 so valuable, because it beats every primary weapon swap in the game by a meaningful margin. When you are caught mid-reload with a rifle, pulling the pistol is almost always the correct play over waiting for the bolt to cycle. The pistol also benefits from the same aim-down-sights accuracy bonus as the rifles, so you should always ADS for those headshot attempts rather than hip-firing unless the target is within melee range.
Comparing the M1911 to Other ENTRENCHED Sidearms
The M1911 is not the only secondary option available, and knowing how it stacks against the alternatives helps you decide whether to keep the default loadout or spend your class points elsewhere. The main competition comes from the revolver-style sidearm and the compact automatic pistol, both of which fill different niches in the close-quarters meta. While the M1911 offers the best balance of damage and fire rate, the other options excel in specific scenarios that might match your playstyle better.
The revolver hits harder per shot but suffers from a much slower fire rate and longer reload, making it a high-risk, high-reward pick for players who trust their aim. The compact automatic trades damage for a faster trigger pull, which helps less accurate players land more hits but requires more shots to secure a kill. Community reports suggest that most veteran players stick with the M1911 because its two-shot torso kill is the most forgiving damage threshold among the sidearms, especially when you are firing from the hip during a panic situation.
| Sidearm | Damage per Shot | Fire Rate | Magazine | Best Use Case |
|---|---|---|---|---|
| M1911 | 50-55 | ~300 RPM | 7 rounds | Balanced all-rounder, headshot potential |
| Revolver | 65-70 | ~150 RPM | 6 rounds | One-shot headshot at close range, slow follow-up |
| Compact Auto | 30-35 | ~450 RPM | 10 rounds | Spray-and-pray, forgiving for new players |
The M1911's 7-round magazine is actually a sweet spot because it gives you enough ammo to win a 1v2 fight if you land your headshots, while still forcing you to be deliberate with your trigger pulls. The revolver's 6-round cylinder feels similar on paper, but the slower fire rate means you cannot recover from a missed shot as easily. The compact auto's 10-round magazine is nice for suppression, but the lower damage per shot means you often need to reload mid-fight against multiple enemies, which defeats the purpose of a panic weapon.
When to Swap from Your Rifle to the M1911
Knowing the stats is only half the battle; the real skill is recognizing the exact moments when the ENTRENCHED M1911 should come out instead of your primary. The most obvious trigger is when your rifle magazine runs empty during a push, because the 2.1-second reload leaves you completely vulnerable to any enemy within sprinting distance. Swapping to the pistol takes 0.4 seconds and puts you back in the fight almost immediately, which is why experienced players develop the reflex to swap the instant they hear the empty click.
The second major scenario is clearing trenches and dugouts, where the tight corners and short sightlines completely negate the range advantage of your rifle. In these spaces, the M1911's fast swap speed and two-shot kill potential make it genuinely superior to trying to ADS with a bolt-action. You should also swap when an enemy gets inside your effective rifle range during a bayonet charge, because the pistol's hip-fire accuracy is good enough to land torso shots at point-blank distance while you backpedal.
-
Empty magazine mid-fight: Swap immediately instead of reloading, especially if enemies are within 20 meters.
-
Trench and dugout clearing: The M1911 outperforms rifles in tight spaces where ADS is impractical.
-
Bayonet charge defense: Hip-fire the pistol while backpedaling to stop a charging enemy before they close the gap.
-
Post-grenade push: After throwing an entrenched grenade, swap to the pistol to clean up survivors in the blast radius.
-
Sniper close-range defense: If you are playing a scoped class and someone flanks you, the pistol is your only realistic survival tool.
The post-grenade push is a tactic that many players overlook, because they instinctively keep their rifle out after throwing an explosive. However, the grenade's blast radius typically leaves survivors disoriented and low on health, which means a single M1911 body shot is often enough to finish them. This combo of entrenched grenade into pistol cleanup is one of the fastest ways to secure multi-kills in the Frontlines mode, and it works especially well when pushing into a contested objective.
Practical Loadout Synergies and Class Recommendations
The M1911 works well with every class, but certain loadouts benefit from it more than others because of how their primary weapons handle in close quarters. The Rifleman class is the most obvious beneficiary, since the bolt-action rifle's slow cycle rate leaves huge windows where the pistol is your only fast-firing option. If you pair the M1911 with the entrenched bayonet attachment on your rifle, you create a deadly close-range package where the bayonet handles the first target and the pistol cleans up anyone behind them.
The Sniper class also relies heavily on the M1911 because scoped weapons are nearly useless at close range, and the swap speed is critical when a flanker appears in your scope's blind spot. For the Assault class, which already has access to the entrenched shotgun and the entrenched mp18, the M1911 serves as a backup that covers the reload windows of those faster-firing primaries. The shotgun's slow reload is particularly dangerous in a multi-enemy fight, and swapping to the pistol for the last kill is often safer than trying to reload mid-combat.
| Class | Primary Weapon | M1911 Role | Key Synergy |
|---|---|---|---|
| Rifleman | Bolt-action rifle | Backup for close range | Bayonet charge follow-up |
| Sniper | Scoped rifle | Close-range defense | Swap speed saves you from flanks |
| Assault | Shotgun / MP18 | Reload coverage | Cleanup after primary runs dry |
| Support | LMG | Emergency sidearm | Covers the long LMG reload |
| Medic | Rifle / SMG | Defensive option | Protects you while healing teammates |
The Support class deserves special mention because the LMG's reload animation is among the longest in the game, and the M1911 is the only thing standing between you and death during those vulnerable seconds. While the entrenched shovel is a fun melee option for building fortifications, it does not help you in a firefight, which is why the pistol remains the better emergency tool. For players who want to understand the full reload mechanics across all weapons, the ENTRENCHED reload times guide breaks down every animation and the optimal cancel windows.
Advanced M1911 Techniques and Aiming Tips
M1911 Magazine Discipline in Conquest's Perpetual Combat
Conquest's endless respawn waves punish empty magazines. The M1911 holds 7 rounds with a reload time roughly 40% faster than a rifle's stripper clip reload. In perpetual attack-versus-defense, reload only behind sandbag cover or after confirming a kill—reloading in the open against a Machine Gunner's suppression fire guarantees death. Track your shots: after firing 5 rounds, break contact and reload. This preserves your 2-round emergency buffer for close-range trench-clearing, where the M1911's hip-fire accuracy shines against Assault-class shotgunners.
M1911 Recoil Control for Mobile and Console Players
On Mobile and Console, the M1911's recoil pattern is more manageable than rifle kick. Unlike the SMLE's significant vertical climb, the M1911 resets after 0.4 seconds, allowing rapid follow-up shots if you pause between trigger pulls. On touch controls, aim slightly below the chest—the recoil will carry your shots into the head for a 2-shot kill. Console players should avoid full-auto spam; instead, tap-fire in 2-round bursts. This technique converts the M1911 into a reliable finisher after a rifle body-shot, especially in the new Eisstadt map's tight village streets.
Once you understand the basics, a few advanced techniques can push your M1911 performance from serviceable to genuinely deadly. The most important skill is trigger discipline, because the semi-automatic fire rate means your clicking speed directly controls your damage output. Practice clicking at a steady rhythm rather than mashing, since the game's input registration can sometimes drop clicks if you go too fast, which actually lowers your effective fire rate.
The headshot priority is the second major technique, because the one-shot kill potential completely changes how you approach duels. At close range, you should always aim for the head even if it means taking a fraction of a second longer to line up the shot, because winning the fight instantly is always better than winning it in two shots. This is especially true when you are defending against a bayonet charge, since the extra half-second of aiming time is worth it when the alternative is a melee death.
-
Practice the swap-shot-swap rhythm: Fire the M1911, swap to your rifle, then swap back to reset the pistol's recoil animation.
-
Use the pistol for finishing blows: When you know an enemy is low on health, swap to the M1911 instead of reloading your primary.
-
Master the hip-fire spread: The M1911's hip-fire is accurate enough for torso shots at point-blank range, so do not always ADS in panic situations.
-
Learn the reload cancel: Swap weapons during the reload animation to cut the total downtime by roughly half.
-
Pair with the entrenched shovel: Build a quick sandbag wall, then swap to the pistol to hold the angle while your cover is up.
The swap-shot-swap rhythm is a technique that separates good players from great ones, because it lets you effectively double your magazine capacity in a sustained fight. The recoil on the M1911 resets when you swap away and back, which means you can fire all 7 rounds, swap to your rifle for a moment, then swap back with a fresh recoil pattern. This takes practice to execute smoothly, but the ENTRENCHED movement guide covers the swap mechanics in more detail and includes drills to build the muscle memory.
M1911 Performance in Different Game Modes
The M1911's value shifts depending on which game mode you are playing, because the engagement distances and pacing vary significantly between Frontlines, Conquest, and Domination. In Frontlines, the turn-based attack-and-defense structure means you often find yourself pushing into heavily fortified positions, where the pistol's close-range power shines during the final assault on an objective. The Conquest mode features more fluid combat with constant flanking opportunities, which rewards the fast swap speed when you get caught rotating between positions.
The Domination mode is where the M1911 arguably performs best, because the king-of-the-hill objective forces constant close-quarters fighting around a single point. In this mode, the pistol's two-shot kill potential and fast swap speed make it a legitimate primary weapon for the final seconds of a capture, especially when you are the last player alive and need to clear the objective quickly. The entrenched mp18 and entrenched shotgun are strong in this mode too, but the M1911's reliability makes it the safer pick for players who want a consistent performance.
| Game Mode | M1911 Effectiveness | Best Strategy |
|---|---|---|
| Frontlines | High | Use during final objective pushes and trench clearing |
| Conquest | Medium | Keep as a defensive option during rotations |
| Domination | Very High | Treat it as a primary for point defense and capture |
| All Modes | High | Always swap when your primary runs dry in close range |
The Frontlines mode deserves extra attention because of its unique turn-based structure, which means you know exactly when the enemy will push and can prepare your loadout accordingly. If you are defending, the M1911 is your best friend during the final seconds of a hold, when the attacking team often throws everything they have into a desperate rush. If you are attacking, the pistol is what you use to clear the last defenders off the point after your entrenched grenade softens them up, and the ENTRENCHED frag grenade guide covers the optimal throw angles for those final pushes.
Frequently Asked Questions
Is the ENTRENCHED M1911 a one-shot kill weapon?
The M1911 can one-shot kill only with a headshot at close range, where it deals roughly 100 damage against the standard 100 health pool. Body shots require two hits at close range, and the damage falls off significantly beyond 20 meters, making three or four shots necessary at longer distances.
How does the M1911 compare to the entrenched shotgun?
The entrenched shotgun deals more damage per shot at point-blank range and can kill with a single blast, but it suffers from a slow reload and limited range. The M1911 offers faster swap speed, better magazine capacity, and more versatility at medium range, making it the better all-around secondary choice.
Should I use the M1911 or the entrenched mp18 as my backup?
The entrenched mp18 is a primary weapon, not a sidearm, so the comparison only applies if you are choosing between loadouts. The mp18 offers full-auto fire and a larger magazine, but the M1911's faster swap speed and one-shot headshot potential make it the better panic weapon for most situations.
Can I cancel the M1911 reload animation?
Yes, you can cancel the reload by swapping to another weapon and back, which cuts the effective downtime by roughly half. This is most useful when you only need a few rounds to finish a fight, since swapping back preserves your partial magazine rather than forcing a full reload.
Does the M1911 work well with the entrenched bayonet?
The entrenched bayonet is a rifle attachment, not a pistol upgrade, but the two weapons synergize beautifully in close quarters. Use the bayonet charge to close the gap and deal the first hit, then swap to the M1911 for a quick follow-up shot if the target survives the initial impact—a combo that excels in Domination's tight trenches.