
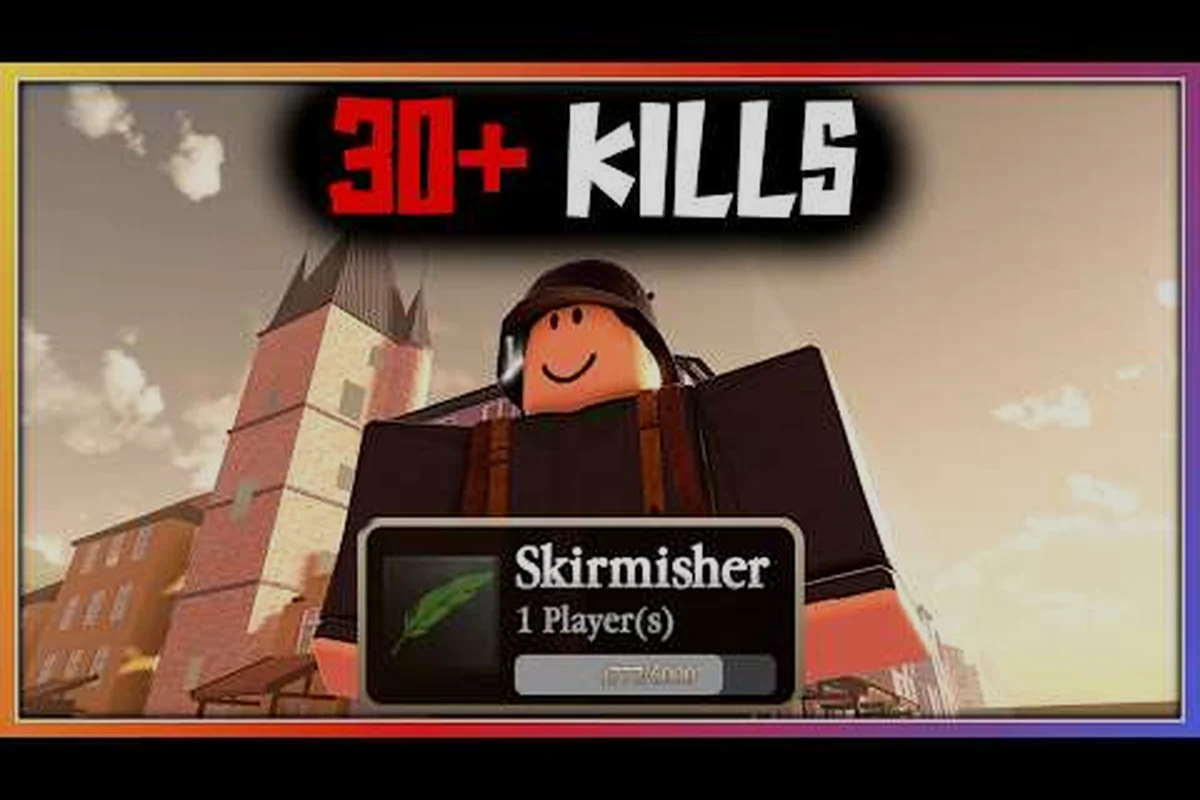
Winning rounds in ENTRENCHED comes down to more than raw aim — the players who consistently top the leaderboard combine smart keybind layouts, optimized settings, and a repeatable XP farm. That combination is what separates a soldier who survives the first push from one who carries the entire Frontline. This guide breaks down the entrenched strategies that actually move the needle, covering everything from control schemes to the fastest way to rank up your classes.
The game, loosely based on early 20th century warfare, pits the Entente against the Central Powers across nine distinct classes, and the difference between a good round and a great one often hinges on preparation before you even spawn. If you have been struggling with slow reaction times or feeling like your shots land a beat too late, the problem might not be your aim — it could be your setup. Let's fix that. From there, dialing in your field of view can be the difference between spotting an enemy’s shoulder pixel before they round a corner and getting caught flat-footed, so if your reaction times still feel sluggish after checking your gear, fine-tuning your perspective with our Entrenched Fov Settings guide is the next logical step to shave off those precious milliseconds.
Core ENTRENCHED Strategies for Loadout and Class Selection
Before you worry about keybinds or graphics, you need a loadout philosophy that matches your playstyle. ENTRENCHED offers nine classes — Rifleman, Assault, Medic, Sniper, Scout, Support, Officer, Flamethrower, and Machine Gunner — and each one demands a slightly different approach to positioning and resource management. The entrenched strategies that work for a Rifleman holding a sightline will not translate to a Flamethrower pushing a trench, so pick a lane and commit to it.
The most effective approach for new players is to master two complementary classes: one for aggressive pushes and one for defensive holds. This flexibility lets you adapt to whatever your team needs mid-round without spreading your experience too thin across the roster.
-
Rifleman — the backbone of any push; reliable at medium range and forgiving when you miss.
-
Assault — built for close-quarters trench clearing; pair it with the SMG for maximum uptime.
-
Medic — the class that wins rounds; revives swing momentum more than any single kill.
-
Sniper — high skill ceiling, but a well-placed shot can shut down an entire flank.
-
Support — supplies ammo and suppresses; the unsung hero of sustained pushes.
-
Officer — buffs nearby teammates and calls in artillery; positioning is everything.
-
Flamethrower — devastating in tight spaces, but you will be targeted first.
-
Machine Gunner — locks down lanes; requires bipod placement discipline.
-
Scout — the fastest class; ideal for flanks and capturing objectives.
A common mistake is spreading your time across all nine classes, which leaves you average at everything and excellent at nothing. Instead, focus your early hours on one aggressive option and one support option, then branch out once you understand the flow of each map. The Frontlines mode, which uses a turn-based attack-and-defense structure, rewards players who can read the momentum swing and switch classes accordingly.
Optimal ENTRENCHED Settings for Performance and Visibility
Rifleman vs. Scout on Doiran Frontlines
Doiran's long sightlines favor the Scout's bolt-action rifle, which one-shots Riflemen to the torso at ranges beyond 120 studs. The Rifleman's semi-automatic rifle, by contrast, deals 55 damage per shot but fires at 4.5 rounds per second, letting you win close-quarters trench-duel engagements where Scout bolt cycling (2.1 seconds) costs you the exchange. In Frontlines' turn-based attack phase, use Rifleman to hold the forward sap while advancing—Scout's low magazine capacity (5 rounds) punishes reloads during enemy counter-pushes. Pick Scout only when defending the rear trench line.
Domination King-of-the-Hill Point Rotation and Support Class
Domination's single capture point rotates between three fixed locations every 2 minutes, and the Support class's ammo crate resupply is critical during the rotation transition. When the point moves to the elevated bunker position, Support players should pre-place crates at the two stairwell chokepoints—this lets Assault and Machine Gunner classes replenish grenades and MG belts without retreating. During the 10-second rotation lockout, reposition your crate to the next point's flank approach. Teams that ignore crate placement lose 30% of their offensive uptime because Assault's grenade launcher only carries 6 rounds per spawn.
Your entrenched settings directly impact how quickly you spot enemies and how smoothly your game runs, and both factors matter more than most players realize. A stuttery frame rate or a cluttered screen will cost you duels that you would otherwise win, which is why dialing in your settings before you worry about advanced tactics is so important. The game runs on Roblox, so your settings are split between the in-game options and the Roblox platform settings, and both need attention.
The table below breaks down the settings that competitive players typically run, based on community reports and performance testing across different hardware.
| Setting | Recommended Value | Why It Matters |
|---|---|---|
| Graphics Quality | 4-6 (or Custom) | Balances visibility with frame rate; higher settings add foliage that hides enemies |
| Max Frame Rate | 240 or Uncapped | Smoother tracking on moving targets; reduces input lag |
| Camera FOV | 90-100 | Wider peripheral vision for spotting flankers |
| Shadow Quality | Low | Shadows eat performance and rarely add tactical value |
| Particle Effects | Low | Reduces screen clutter during artillery barrages |
| Texture Quality | High | Makes enemy silhouettes easier to distinguish from terrain |
If you are struggling with frame drops during large pushes, the graphics settings guide we published covers the full breakdown of every option and how it affects your FPS on different hardware tiers. That guide goes deeper into the trade-offs between visual fidelity and competitive performance, which matters if you are playing on a laptop or a lower-end desktop.
Beyond the graphics options, you should also disable any unnecessary Roblox platform features like chat bubbles or player name tags if they clutter your screen. The key is to keep your visual field as clean as possible so that enemy movement stands out immediately, because in a game where a single frame can decide a duel, every bit of clarity helps.
ENTRENCHED Keybinds That Improve Reaction Time
Eisstadt Weather Variation and Flamethrower Positioning
Version v1.23's Eisstadt map introduces dynamic weather that directly alters Flamethrower effectiveness. Rain reduces flame projectile range by roughly 30% and dampens splash damage, forcing you to close distance through the central crater lanes rather than lobbing fire from trench parapets. In clear weather, however, the Flamethrower's 8-meter cone can suppress Machine Gunner nests from behind sandbag cover. On Domination's Eisstadt variant, wait for the fog cycle before pushing the church point—the reduced visibility lets you flank without triggering the MG's tracer-based target acquisition.
Conquest Respawn Timing for Officer Rally Points
Officer rally points in Conquest reduce respawn delay from the standard 10 seconds to 3 seconds, but only if placed within 50 studs of the active capture zone. On perpetual attack-versus-defense Conquest maps, place the rally inside a destroyed building's rubble—enemy Mortar strikes target open ground and will miss the covered spawn. A 150-player 72-hour trench warfare simulation demonstrated that teams cycling rally points every 90 seconds maintained frontline pressure while opponents with static spawns lost capture progress to attrition. Never place rallies on the capture flag itself; area-of-effect artillery will wipe the entire spawn wave.
| Class | Role Focus | Best Used For | Weakness |
|---|---|---|---|
| Rifleman | General infantry | Frontline pushes, holding trench lines | Low suppression, outclassed at range by Snipers |
| Assault | Close-quarters offense | Clearing bunkers and trench sections | Short effective range leaves them exposed in open ground |
| Medic | Healing and reviving | Sustaining pushes, keeping squads alive | Minimal offensive capability in direct firefights |
| Sniper | Long-range elimination | Counter-sniping, denying sightlines | Vulnerable to Flamethrowers and Scouts in close quarters |
| Scout | Flanking and recon | Infiltrating behind enemy lines, calling out positions | Low health, poor in sustained head-on combat |
| Support | Ammo and suppression | Resupplying teammates, laying down suppressive fire | Slow movement, large target profile |
| Officer | Squad coordination | Directing pushes, using buffs and orders | Low survivability, requires team coordination to be effective |
| Flamethrower | Area denial and clearing | Burning out dug-in defenders in trenches | Extremely short range, high risk of death when closing distance |
| Machine Gunner | Defensive firepower | Locking down lanes, halting enemy advances | Heavy and slow to deploy, weak in mobile fights |
Your entrenched keybinds are the most personal part of your setup, and the default layout works fine for casual play but leaves room for improvement when you want to shave milliseconds off your reactions. The goal is to keep your fingers on the movement keys and the most-used actions within easy reach, so you never have to look down at the keyboard mid-fight. A well-designed keybind layout reduces the distance your fingers travel, which translates directly into faster weapon swaps and quicker ability usage.
Here is a comparison of the default keybinds versus a competitive layout that many experienced players report using:
| Action | Default Key | Competitive Key | Reason for Change |
|---|---|---|---|
| Jump | Space | Space | No change needed; thumb is always there |
| Crouch | Left Ctrl | C | Easier to reach without shifting your hand |
| Prone | Z | X | Keeps prone next to crouch for quick transitions |
| Reload | R | R | No change; already in a natural position |
| Melee | V | Q | Faster access without moving off movement keys |
| Grenade | G | Mouse Button 4 | Thumb button is faster than reaching across |
| Class Ability | F | E | Reduces finger travel from WASD |
| Swap Weapon | 1/2 | Mouse Wheel | Faster cycling without lifting fingers |
The movement guide on this site covers the broader topic of how to chain these actions together for advanced techniques like bunny-hopping and slide-canceling, which become significantly easier with a responsive keybind setup. That guide also addresses console and mobile controls, because the optimal layout changes depending on whether you are playing on PC, mobile, or console — the game supports all three platforms.
One tip that comes up repeatedly in community discussions is to bind your melee attack to a key you can hit without moving your fingers off WASD, because in close-quarters trench fights, the difference between landing a melee and getting shot is often just a fraction of a second. Test your layout in a low-pressure match first, because switching keybinds mid-competitive-game will throw off your muscle memory for at least a few rounds.
The Fastest ENTRENCHED XP Guide for Ranking Up Classes
The entrenched xp guide portion of this article covers the most efficient ways to earn experience points, because class progression in ENTRENCHED is tied directly to your in-game performance rather than time played. This means that how you play matters more than how long you play, and there are specific actions that reward disproportionately more XP than others. Understanding this system is the key to ranking up your favorite classes quickly.
-
Revives — as a Medic, each revive grants significant XP, and a good medic can rack up dozens per match.
-
Objective Captures — holding or capturing points in Domination and Conquest generates steady XP ticks.
-
Headshot Kills — kills are worth more XP than assists, and headshots add a bonus multiplier.
-
Suppression Assists — Machine Gunner and Support players earn XP when their suppression leads to teammate kills.
-
Artillery Kills — Officer-class artillery strikes that secure kills grant a large XP burst.
-
Match Victory — winning the round grants a flat XP bonus that compounds over time.
The fastest way to farm XP is to play Medic on Frontlines and focus exclusively on revives and healing, because these actions are consistent, low-risk, and generate XP every time you perform them. A skilled medic can easily earn more XP in a single match than a top-fragging Rifleman, because revives are not capped and the action is constant. This is the strategy that most XP-focused players report using, and it works across all three game modes.
If you prefer a more aggressive playstyle, the next best approach is to play Assault on Domination and focus on capturing points while pushing through trenches. The combination of capture ticks, kill XP, and match victory bonuses adds up quickly, and the fast-paced nature of the mode keeps the XP flowing steadily. Avoid sniping if your goal is pure XP, because the downtime between shots means fewer opportunities to earn.
Advanced Tactics for Winning More Rounds
Once your settings, keybinds, and XP strategy are dialed in, the next layer of entrenched strategies involves the tactical decisions that win rounds. These are the subtle plays that experienced players make instinctively, and they are the difference between a good stat line and a round win. The game's three modes — Frontlines, Conquest, and Domination — each reward slightly different tactical approaches.
Frontlines is the most strategic mode because the turn-based attack-and-defense structure means you need to coordinate pushes with your team. The key here is timing: wait for your artillery to soften the enemy line before committing your assault, because charging into an unsuppressed trench is a death sentence. Communicate with your squad and coordinate your class picks so that you have a mix of Medics, Assault, and Support for the push.
Conquest is perpetual attack-versus-defense, which means the momentum can swing wildly if you are not careful. The winning play here is to maintain pressure on multiple fronts so the enemy team has to split their attention, which opens up gaps that your Assault players can exploit. If you are defending, focus on holding chokepoints with Machine Gunners and Snipers while your Medics keep the line alive.
Domination is king-of-the-hill, and the team that controls the central point usually wins. The best strategy here is to have your Scout capture the point early while your Riflemen and Snipers hold the approaches. Once you control the point, the enemy team is forced to come to you, which gives you the defensive advantage. For a deeper breakdown of class-specific combat tactics, the how to kill guide covers the exact engagement ranges and TTK values for every weapon.
Frequently Asked Questions
What are the best entrenched settings for low-end PCs?
Set graphics quality to 4 or lower, disable shadows, and cap your frame rate at 60 to maintain consistency. Lower particle effects to reduce clutter during artillery. These settings prioritize performance over visuals, which matters more in competitive matches where frame drops can cost you duels.
How do I change my entrenched keybinds?
Open the in-game settings menu and navigate to the controls tab, where you can remap every action. The game supports custom keybinds on PC, while console and mobile players have limited customization options. Test your new layout in a practice match before jumping into ranked play.
What is the fastest way to earn XP in ENTRENCHED?
Playing Medic and focusing on revives is the fastest XP method because revives grant consistent, uncapped XP every match. Alternatively, play Assault on Domination and prioritize objective captures, which generate steady XP ticks alongside kill bonuses. Both methods outperform pure fragging in terms of XP per minute.
Do entrenched strategies differ between PC and console?
Yes, because keybinds and controls vary significantly between platforms. PC players have more customization options and can react faster with mouse aiming, while console players benefit from aim assist. The core tactical strategies remain the same, but the optimal settings and control layouts differ.
Which class is best for beginners to learn entrenched strategies?
The Rifleman is the best starting class because it is effective at medium range, forgiving when you miss, and teaches the fundamentals of positioning and timing. Once you understand the flow of matches, branch into Assault for aggressive play or Medic for a support role that generates high XP.