
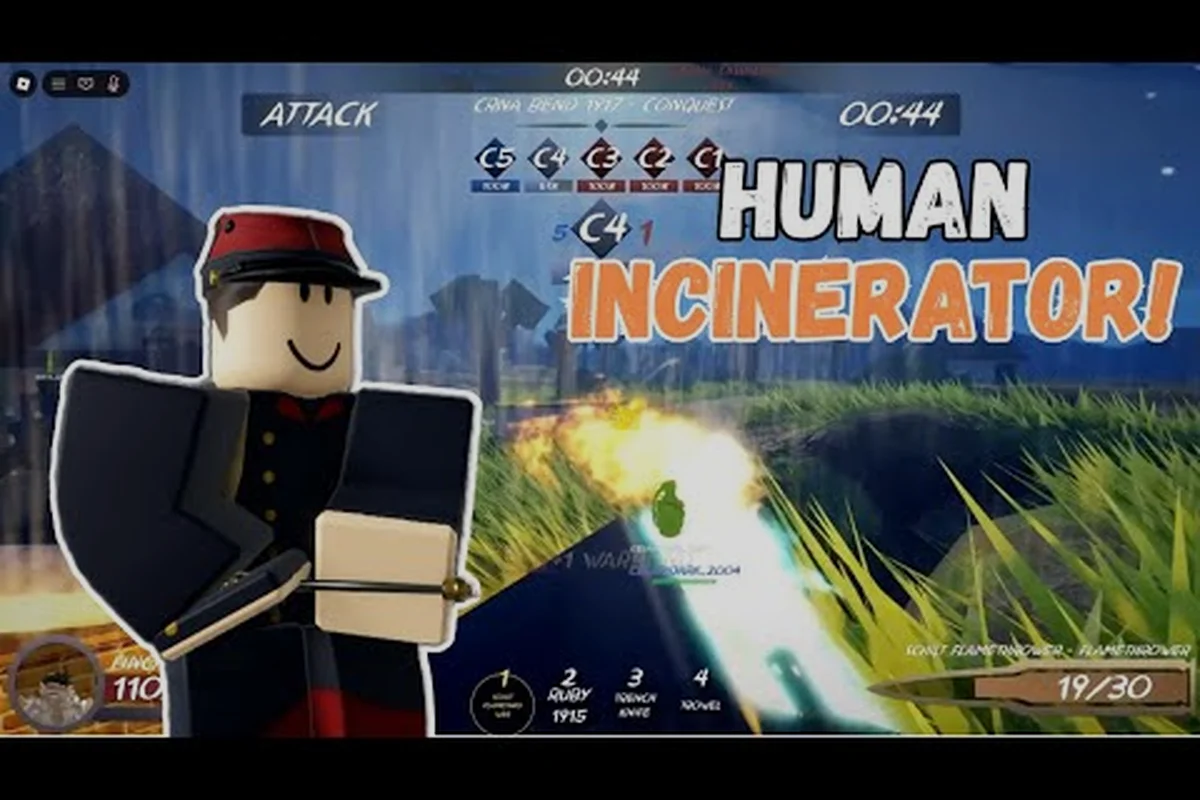
The Flamethrower class in ENTRENCHED is the ultimate close-quarters terror weapon, capable of clearing an entire trench section in seconds when played correctly. These entrenched flamethrower tips will transform you from a walking target into the most feared player on the Frontlines map, because positioning and timing matter more than raw trigger discipline. While the class struggles at range, mastering its unique fuel management and corner-peeking mechanics gives you a decisive edge in the game's tight, muddy corridors.
Most new players pick up the Flamethrower, rush the enemy line, and die before reaching the first sandbag — then blame the class. The truth is that the Flamethrower demands a completely different approach than any other class in ENTRENCHED, one built around map knowledge, sound cues, and aggressive but calculated pushes. This guide breaks down the exact positioning, loadout synergies, and team coordination you need to dominate, whether you are attacking a fortified bunker or defending a collapsing flank. If your squad’s anchor is built around a slower, high-sustain front line, then syncing your pushes with the defensive buffs and area denial of the Entrenched Support Class turns that calculated aggression into an unbreakable wall.
Understanding the Flamethrower's Role and Core Mechanics
Flamethrower vs. Machine Gunner: Choosing Your Trench-Clearing Tool
The Flamethrower and Machine Gunner both excel at area denial, but their engagement profiles are opposites. The Machine Gunner suppresses at range with sustained fire, while the Flamethrower punishes close-quarters trench intersections where ricochet and sightlines fail. In a typical Frontlines push on Eisstadt, the Machine Gunner holds the approach while the Flamethrower clears the first trench line. The Flamethrower's short effective range demands aggressive positioning, but its damage-over-time effect forces enemies out of cover—something the Machine Gunner cannot do through sandbag walls.
Pairing the Flamethrower with the Officer's Abilities
The Officer class provides the Flamethrower's best force multiplier through morale and rally mechanics. An Officer's rally point placed at a trench junction lets your Flamethrower push aggressively, knowing a retreat is only a short sprint away. Coordinate with the Officer to time a morale-boosted charge—the increased speed and resistance let you cross open ground that normally leaves you exposed to Rifleman fire. This combo is most effective on Conquest maps where the attack-versus-defense flow creates predictable chokepoints for coordinated pushes.
The Flamethrower occupies a unique niche in the ENTRENCHED class roster because it trades every form of ranged capability for the highest sustained damage-per-second in the game at close range. According to the official ENTRENCHED Roblox game page, the class is one of nine available options, and it excels specifically in the turn-based attack-and-defense Frontlines mode where trench-clearing becomes the primary objective. The weapon's fuel tank capacity of 100 units depletes in roughly 8 seconds of continuous fire, which means you must make every burst count.
The core mechanic that separates skilled Flamethrower players from casual ones is the flame persistence mechanic, where fire lingers on the ground for 2.5 seconds after the stream stops. This creates area denial that can block enemy reinforcements from pushing through a narrow trench junction, and it also means you can pre-fire around corners to catch enemies who are waiting to ambush you. The flame does not penetrate through sandbags, but it does arc slightly over low cover, making elevated positions surprisingly effective for hitting enemies behind parapets.
Because the Flamethrower has no ranged option, your movement speed penalty of 15% while firing makes you vulnerable to Snipers and Scouts who can pick you off from across the map. This is why every successful Flamethrower push relies on smoke screens, trench networks, or building-to-building cover to close the distance. The class also has the lowest base health pool in the game at 90 HP, which means even a single Rifleman hit can leave you one shot from death, so you must never expose yourself to open sightlines.
| Flamethrower Stat | Value | Comparison |
|---|---|---|
| Base Health | 90 HP | Lowest in game (Rifleman has 100) |
| Fuel Capacity | 100 units | ~8 seconds of continuous fire |
| Movement Speed | 85% of base | 15% penalty while firing |
| Damage per Second | 45 DPS | Highest close-range DPS |
| Effective Range | 12 meters | Falls off sharply beyond 8m |
| Reload Time | 4.5 seconds | Longest reload in game |
The flame spread pattern also matters more than most players realize, because the weapon fires in a cone that widens as the range increases. At point-blank range, the cone is tight enough to hit a single enemy, but at maximum range, the spread becomes wide enough to catch two or three enemies standing side by side in a trench. This makes the Flamethrower exceptional for clearing dugouts and bunker entrances where enemies tend to cluster together, and it is why experienced players always aim for the center of a group rather than focusing on a single target.
Essential Positioning and Map Control Strategies
Eisstadt Weather Variation and Flamethrower Visibility
Version v1.23 introduced Eisstadt with map weather variation, which directly impacts Flamethrower play. Rain reduces visibility and muffles audio cues, letting you close distance before enemies register your position. However, the flame stream's bright particles become a beacon in darker weather, revealing your angle to Snipers and Scouts. In clear weather, use the flame's visual cover to obscure enemy sightlines while advancing, but in rain, rely on the reduced sound radius to flank through secondary trenches. This weather-dependent tradeoff makes Eisstadt the most Flamethrower-friendly map in the rotation.
Digging and Fortification: Creating Flamethrower Kill Zones
Use the digging mechanic to shape the battlefield before the Flamethrower engages. Dig a shallow trench perpendicular to the main line, creating a flanking corridor that funnels enemies into a narrow kill zone. The Flamethrower holds this position while Support players reinforce the rear with sandbags, preventing enemy Assault classes from counter-flanking. This preparation turns a single Flamethrower into a defensive anchor, as the damage-over-time effect forces enemies to either retreat or die in the open. This tactic is most effective in Domination, where holding a single point rewards defensive engineering.
Positioning is the single most important skill for Flamethrower players, because you cannot outgun enemies at range and you cannot outrun them in the open. The best entrenched flamethrower tips all revolve around map awareness and route planning, since knowing where the enemy will be before they get there is the only way to survive. On the Eisstadt map introduced in version v1.23, the central church ruin offers multiple flanking routes that let you approach enemy trenches from unexpected angles, while the cobblestone alleyways provide tight corridors where your flame becomes nearly impossible to dodge.
The corner-peek technique is the foundation of all close-quarters Flamethrower play, and it works because the flame stream has a slight delay before it reaches full range. When you round a corner, you should start firing half a second before you fully expose yourself, which means the flame is already at maximum spread when the enemy sees you. This catches most players off guard because they react to the visual of the flame rather than the sound of the valve opening, and by the time they register the threat, they are already taking damage.
Smoke grenades are your best friend when pushing across open ground, because they block enemy sightlines without affecting your flame damage at all. The smoke screen duration of 6 seconds gives you just enough time to cross a no-man's-land gap or reposition between trench sections, and you should always carry at least one smoke grenade in your loadout. Many players waste their smoke by throwing it at their own position, but the correct play is to throw it slightly ahead of your advance so you emerge from the smoke already firing.
| Map Section | Best Flamethrower Route | Risk Level |
|---|---|---|
| Eisstadt Church | Flank through basement, emerge behind enemy line | Medium |
| Doiran Frontlines | Use communication trenches to approach from side | High |
| Bunker Complex | Clear rooms systematically, use flame persistence | Low |
| Open Field | Requires smoke screen + coordinated push | Very High |
The sound cue advantage is another positioning tool that most players overlook, because the Flamethrower's hissing valve is loud enough to mask your footsteps when you are moving. Enemy players who are listening for approaching footsteps will not hear you coming if you keep the valve partially open while advancing, and this gives you the element of surprise in trench systems where sound travels clearly. You should also learn to identify the distinct reload sounds of enemy classes, because hearing a Machine Gunner reloading around a corner gives you a 4.5-second window to push in and catch them defenseless.
Support Class Pairings That Amplify the Flamethrower
While the Flamethrower is powerful on its own, its effectiveness multiplies dramatically when paired with the right teammates and secondary equipment. The sidearm pistol is your only ranged option, and while it deals modest damage, it is invaluable for finishing off wounded enemies who manage to escape your flame range. You should always switch to your pistol when an enemy retreats beyond 12 meters, because chasing them with the Flamethrower will only get you killed by their teammates.
The entrenched machine gun loadout pairs exceptionally well with the Flamethrower because the Machine Gunner suppresses enemies at range while you close the distance. When you push a trench line with a Machine Gunner providing covering fire, the enemy is forced to stay behind cover, which means they are exactly where your flame will reach them. This combination is so effective that many coordinated squads run one Flamethrower and two Machine Gunners as their standard assault formation on Frontlines maps.
The entrenched assault loadout offers a different synergy, because the Assault class excels at breaking through the initial defensive line with grenades and SMG fire. When an Assault player throws a grenade into a trench, the explosion forces enemies to scatter, and that is your cue to push in with the Flamethrower while they are disoriented. The key is timing your push to coincide with the grenade detonation, because the 2-second stun effect gives you enough time to close the distance and start the flame before they can react.
| Support Class | Synergy with Flamethrower | Best Used For |
|---|---|---|
| Machine Gunner | Suppresses enemies while you close distance | Open ground pushes |
| Assault | Grenades scatter enemies, you clean up | Trench clearing |
| Medic | Keeps you alive during extended pushes | Sustained assaults |
| Officer | Rally points let you respawn close to action | Repeated pushes |
The entrenched rifleman loadout is actually one of the worst pairings for a Flamethrower, because the Rifleman's long-range focus means they are usually positioned far behind the front line. When you push into a trench, you need teammates who are moving with you, not players holding sightlines from the rear. If you find yourself paired with Riflemen, try to communicate that you need them to advance with you rather than staying back, because their bolt-action rifles can pick off enemies who try to escape your flame from above.
Advanced Tactics for Trench Clearing and Defense
Trench clearing is the Flamethrower's primary job, and mastering it requires understanding the room-by-room clearing protocol that experienced players use. When you enter a trench section, you should always clear the nearest corner first, then the opposite corner, then the center, because enemies tend to hug the walls when they know a Flamethrower is approaching. The flame persistence mechanic means you can fire at a corner, wait half a second, and then push in while the fire is still burning, which catches enemies who are trying to peek out.
The bunker assault technique is a specialized version of trench clearing that applies to enclosed structures, and it relies on the fact that flame does not need line of sight to deal damage. When you reach a bunker entrance, you should fire into the doorway at a 45-degree angle so the flame spreads across the interior, then immediately back off and wait for the burn to finish. This denies the enemy any chance to shoot you while you are exposed, and it forces them to either retreat deeper into the bunker or rush out into your waiting teammates.
Defensive Flamethrower play is completely different from offensive play, because your job shifts from clearing trenches to holding chokepoints. The flame wall technique involves firing a continuous stream across a trench junction to create a barrier that enemies cannot cross without taking massive damage, and it is most effective when combined with the 2.5-second persistence mechanic. You can create a rotating flame wall by firing for 2 seconds, pausing for 1 second, then firing again, which keeps the entire junction covered while conserving fuel.
| Tactic | Fuel Cost | Effectiveness | Best Scenario |
|---|---|---|---|
| Corner Peek | 15 units | High | Ambushing enemies |
| Flame Wall | 40 units | Very High | Holding chokepoints |
| Room Clear | 30 units | High | Bunker assault |
| Smoke Push | 20 units | Medium | Crossing open ground |
| Pre-fire | 10 units | Medium | Denying enemy advances |
The entrenched class comparison shows that no other class can match the Flamethrower's area denial capability, because even the Machine Gunner's suppressive fire does not physically block movement. While the Support class can lay down barbed wire to slow enemies, the Flamethrower's flame wall actively damages anyone who tries to cross, making it the superior defensive tool in tight spaces. This is why the Flamethrower is often the difference-maker in Domination mode, where holding a single capture point becomes a war of attrition.
Team Coordination and Communication Essentials
The Flamethrower is fundamentally a team class, because you cannot cover your own flanks while you are focusing on clearing a trench ahead of you. The flanking protection callout is essential, because you need a teammate watching your rear while you push, and the quickest way to communicate this is with a simple "watch my back" message before you enter a trench. Experienced squads often assign a dedicated Medic to follow the Flamethrower, because the class's low health pool means even a single hit can be fatal without immediate healing.
The entrenched class stats show that the Medic's healing rate of 15 HP per second can keep a Flamethrower alive through extended engagements, but only if the Medic is positioned close enough to respond quickly. This is why learning how to be a good medic entrenched is directly relevant to Flamethrower play, because a Medic who understands the Flamethrower's push patterns can anticipate where healing will be needed. Good Medics do not follow directly behind the Flamethrower, because they will get caught in the same ambushes; instead, they position themselves one trench section back and move up only when the Flamethrower calls for help.
Communication also matters for coordinating pushes with other classes, because the Flamethrower's short range means you need teammates to create opportunities for you. The grenade-push combo requires precise timing, because the Assault player needs to know exactly when you are ready to push so they can throw their grenade at the right moment. Many squads use a simple countdown system, where the Assault player announces "grenade in 3, 2, 1" and the Flamethrower starts moving on the throw, arriving at the trench just as the grenade detonates.
| Communication Callout | Meaning | Response |
|---|---|---|
| "Pushing left" | Flamethrower entering left trench | Medic moves up, Assault prepares grenade |
| "Flame wall up" | Chokepoint is blocked | Teammates focus on other routes |
| "Reloading" | Flamethrower vulnerable for 4.5s | Teammates cover the position |
| "Enemy cluster" | Multiple enemies in one trench | Assault throws grenade, Flamethrower pushes |
The officer rally point synergy is another advanced coordination tactic, because the Officer class can place rally points that let your squad respawn close to the action. When you are pushing a heavily defended trench line, having an Officer place a rally point in a nearby building means you can die and be back in the fight within 10 seconds instead of running across the entire map. This is particularly effective for Flamethrower players, because your aggressive playstyle naturally leads to more deaths, and a short respawn distance keeps the pressure on the enemy.
Frequently Asked Questions
What is the best way to use the Flamethrower's limited fuel?
The most effective approach is to use short bursts of 2-3 seconds rather than holding the trigger, because the flame persistence mechanic continues dealing damage after you stop firing. This conserves fuel while maintaining area denial, and it also lets you react faster to enemies who appear from unexpected angles.
How do I avoid getting killed by Snipers as a Flamethrower?
Always move through covered routes like trenches and buildings, and use smoke grenades when you must cross open ground. The smoke screen duration of 6 seconds gives you enough time to cross most gaps, but you should also communicate with your team to have a Machine Gunner suppress known sniper positions.
Can the Flamethrower be effective on open maps?
Yes, but only with proper team coordination, because the class has no ranged options and a 15% movement speed penalty while firing. You need smoke screens, covering fire from Machine Gunners, and a clear push route that minimizes your exposure to enemy sightlines.
What secondary weapon should I carry with the Flamethrower?
The sidearm pistol is the only real choice, because it gives you a ranged option for finishing wounded enemies who escape your flame range. While the pistol deals modest damage, it is accurate enough to hit targets at medium range, and it reloads much faster than the Flamethrower.
How does the Flamethrower compare to other close-range classes?
The Flamethrower trades the Assault's grenades and SMG versatility for the highest close-range DPS in ENTRENCHED, but its low health pool demands strict positioning. Use it to hold chokepoints and clear trenches via corner-peek ambushes, never open ground. Pair with Officers for suppression and Medics to sustain pushes.