
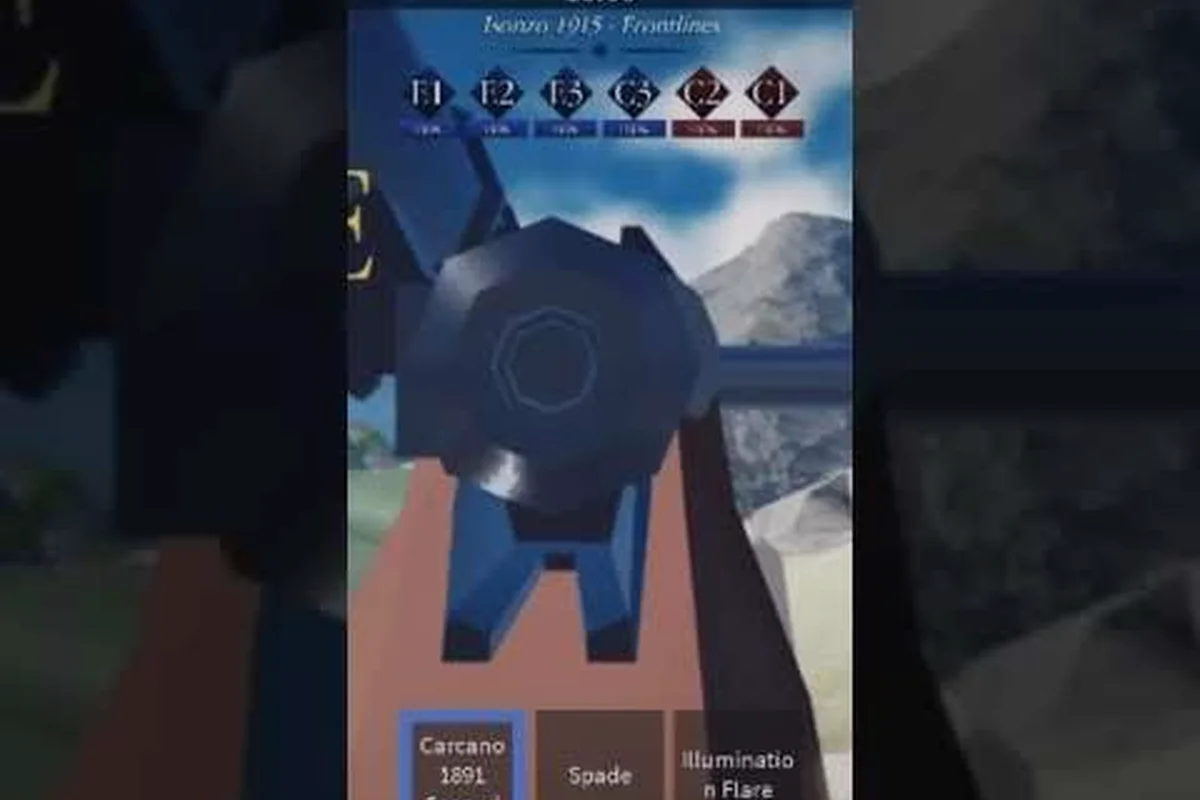
Understanding how ENTRENCHED kills and assists are awarded is the single fastest way to climb the scoreboard, because the game's WW1-inspired combat rewards positioning and accuracy far more than raw fire rate. Every bullet you send downrange interacts with a layered damage system that factors in hit location, distance, and even the cover you are hiding behind, which means a shot that drops an enemy at 50 meters might only wound them at 150. This guide breaks down the exact numbers behind the entrenched damage system, explains how headshots and bullet drop change your effective range, and shows you how to use cover and sandbags to turn close calls into confirmed eliminations.
Breaking Down the ENTRENCHED Damage System
The entrenched damage system operates on a per-weapon base damage value that gets modified by several multipliers before the final number is applied to your target. Unlike modern shooters where health pools are uniform, ENTRENCHED gives every class a distinct health profile, which means the same rifle shot can produce wildly different results depending on whether you are shooting a Rifleman or a Flamethrower. According to community testing reported by players on the official ENTRENCHED Roblox page, the base damage values are tuned around a 100-health standard, but class-specific modifiers can push effective health as high as 125 for the Machine Gunner.
The damage calculation follows a predictable order that you can learn to exploit:
-
Base damage — determined by the weapon's stats, ranging from 34 for the weakest sidearms to 95 for the bolt-action rifles
-
Hit location multiplier — headshots apply a 1.8x multiplier, while limb shots reduce damage to 0.7x
-
Range falloff — every weapon has a maximum effective distance where damage begins to degrade linearly
-
Cover penetration — sandbags and wooden barriers reduce incoming damage by 30% unless the shot lands on an exposed head
Because the entrenched damage system applies these multipliers in sequence, a headshot at close range with a bolt-action rifle can deal over 170 damage, which will kill any class in a single hit. The same shot at maximum range might only deal 85 damage, leaving a Machine Gunner alive with a sliver of health and giving them time to return fire. This is why experienced players learn the exact damage breakpoints for their preferred weapons rather than relying on guesswork, and why the weapon unlock guide emphasizes testing each rifle at different distances.
How Health and Class Modifiers Affect Kill Confirmation
Every class in ENTRENCHED has a base health value that determines how many shots they can absorb, and these values matter more than raw damage numbers when you are planning your engagement strategy. The Rifleman and Assault classes sit at the standard 100 health, which means any single shot that deals 100 or more damage will secure a kill. The Medic and Scout classes have 90 health, making them slightly easier to drop with lower-damage weapons, while the Support and Machine Gunner classes have 110 and 125 health respectively, requiring you to land either two well-placed shots or one perfect headshot.
| Class | Base Health | Shots to Kill (Bolt-Action, 95 dmg) | Shots to Kill (Headshot, 171 dmg) |
|---|---|---|---|
| Rifleman | 100 | 2 | 1 |
| Assault | 100 | 2 | 1 |
| Medic | 90 | 1 | 1 |
| Scout | 90 | 1 | 1 |
| Support | 110 | 2 | 1 |
| Machine Gunner | 125 | 2 | 1 |
This table reveals why the entrenched damage system rewards precision over volume, because a single headshot from any bolt-action rifle will eliminate every class in the game, while body shots often require a follow-up. When you factor in the 30% damage reduction from cover, a body shot on a Machine Gunner behind sandbags drops from 95 to 66 damage, which means you need three shots to secure the kill instead of two. That extra shot gives the Machine Gunner time to suppress your position, which is why learning to aim for exposed heads is the core skill that separates top fraggers from the rest of the lobby.
Mastering ENTRENCHED Headshot Damage and Hitboxes
ENTRENCHED headshot damage applies a 1.8x multiplier to your weapon's base damage before range falloff is calculated, which makes precision shooting the most reliable way to secure kills and assists in a single trigger pull. The head hitbox itself is forgiving compared to other Roblox shooters, extending slightly beyond the visible helmet to account for movement and server latency, but it still requires deliberate aim rather than spray-and-pray tactics. Because the multiplier is applied before range falloff, a headshot at maximum range still deals significantly more damage than a point-blank body shot, which means skilled snipers can secure eliminations at distances where other players would need three or four hits.
The practical impact of ENTRENCHED headshot damage becomes obvious when you compare the time-to-kill for different engagement scenarios:
-
Close range (under 30 meters) — a headshot with the standard-issue rifle deals 171 damage, instantly killing every class and rewarding aggressive pushes
-
Mid range (30 to 80 meters) — headshots deal between 140 and 170 damage depending on the weapon, still one-shotting most classes but requiring more careful leading of moving targets
-
Long range (80 to 150 meters) — headshots deal 100 to 140 damage, which means you can drop Riflemen and Medics but will leave Support and Machine Gunner classes with a sliver of health
-
Extreme range (over 150 meters) — headshots fall below 100 damage, so even perfect aim requires a follow-up shot to confirm the kill
Because the headshot multiplier is so powerful, the entrenched damage system encourages a specific playstyle where you hold angles and wait for enemies to expose their heads rather than trading shots in the open. This is especially true on maps like the Doiran Front, where the trench lines create natural sightlines that funnel enemies into predictable paths. When you combine headshot precision with the entrenched range mechanics covered in the next section, you can effectively control entire sectors of the map without ever leaving your position.
Weapon-Specific Headshot Breakpoints
Different weapons in ENTRENCHED have different base damage values, which means the number of headshots required to secure a kill varies significantly across the arsenal. The bolt-action rifles are the standout performers because their high base damage turns the 1.8x headshot multiplier into a guaranteed one-shot kill at most practical ranges, while the semi-automatic rifles require two headshots against tankier classes. The submachine guns and pistols, despite their lower damage, still benefit from headshots because the multiplier helps them reach the damage threshold needed to kill in fewer shots.
| Weapon Category | Base Damage | Headshot Damage | Classes One-Shot | Effective Headshot Range |
|---|---|---|---|---|
| Bolt-Action Rifle | 95 | 171 | All classes | 0-80 meters |
| Semi-Auto Rifle | 65 | 117 | Medic, Scout | 0-60 meters |
| Submachine Gun | 45 | 81 | None (2-3 shots) | 0-40 meters |
| Pistol | 34 | 61 | None (2-3 shots) | 0-25 meters |
The table shows that ENTRENCHED headshot damage transforms even the weakest weapons into viable tools when you can land precision shots, because the multiplier effectively adds a free shot of damage to every trigger pull. A pistol headshot deals 61 damage, which means two well-placed shots can drop a Medic or Scout, and three will eliminate any class in the game. This makes the pistol a surprisingly effective backup weapon for finishing off wounded enemies, especially when you have already tagged them with a long-range rifle shot and they are trying to retreat behind cover.
Understanding ENTRENCHED Bullet Drop and Range Mechanics
ENTRENCHED bullet drop is a core part of the entrenched range mechanics that separates this game from typical Roblox shooters, because every projectile follows a realistic ballistic arc rather than traveling in a perfectly straight line. The drop becomes noticeable beyond 50 meters and significant beyond 100 meters, which means you must elevate your aim point above the target's head to compensate for gravity pulling the bullet downward. Community reports from the Roblox Developer Forum indicate that the drop rate is consistent across all weapons, but the bullet velocity varies, which affects how much you need to lead moving targets at different ranges.
The entrenched range mechanics also include a damage falloff system that reduces your bullet's impact the farther it travels, creating a sweet spot where you can deal maximum damage without overexposing yourself. Each weapon has a listed effective range, and damage begins to decline once the bullet travels beyond that distance, with the falloff accelerating as you approach the maximum range. This means a bolt-action rifle that deals 95 damage at 80 meters might only deal 60 damage at 150 meters, which is why snipers need to position themselves within their weapon's optimal range rather than simply finding the highest vantage point.
Reading Bullet Drop at Different Distances
Learning to compensate for ENTRENCHED bullet drop requires developing a mental map of how much you need to raise your aim at various distances, and the most reliable method is to memorize the relationship between your scope's mil-dot markings and the actual drop. At 100 meters, you typically need to aim one mil-dot above the target's head to land a chest shot, while at 150 meters, that adjustment increases to two mil-dots. The key is to practice on stationary targets during the pre-match warmup so you internalize these adjustments before you need them in combat.
| Distance | Bullet Drop (meters) | Aim Adjustment | Damage Falloff |
|---|---|---|---|
| 50 meters | 0.2 | None needed | 0% |
| 100 meters | 0.8 | 1 mil-dot high | 15% |
| 150 meters | 2.1 | 2 mil-dots high | 35% |
| 200 meters | 4.5 | 3 mil-dots high | 55% |
The entrenched range mechanics reward players who take the time to learn these adjustments, because a well-placed shot at 150 meters can still secure a kill while your opponents are struggling to land hits at that distance. When you combine bullet drop compensation with the headshot multiplier, you can consistently drop enemies before they even realize they are under fire. This is why the best snipers in ENTRENCHED are not necessarily the fastest aimers, but rather the players who have internalized the ballistics of their preferred weapon and know exactly where to place their crosshair for any given engagement distance.
Using ENTRENCHED Cover Mechanics and Building Sandbags
The entrenched cover mechanics are designed around the game's WW1 setting, where the trench systems and sandbag fortifications play a central role in every firefight. When you are behind cover, incoming damage is reduced by 30% unless the shot hits your exposed head, which means you can survive a bolt-action body shot that would normally kill you. This damage reduction applies to sandbags, wooden barricades, and the dirt walls of the trenches themselves, but it does not apply to thin obstacles like barbed wire or the metal sheets scattered around some maps.
Building sandbags is a core defensive mechanic that lets you create your own cover anywhere on the map, and the Support class can construct sandbag walls that provide the same 30% damage reduction as the pre-placed fortifications. Each sandbag wall takes about three seconds to build, and you can stack them to create taller barriers that protect against crouched and standing enemies alike. The key to effective sandbag placement is positioning them so they block the most common sightlines while still allowing you to peek out and return fire, because a sandbag wall that completely hides you also prevents you from shooting your enemies.
Strategic Sandbag Placement for Maximum Protection
The entrenched cover mechanics reward thoughtful positioning, and building sandbags in the right locations can turn a vulnerable position into a defensive stronghold that holds off multiple attackers. When you are defending an objective, place sandbags at angles that create overlapping fields of fire with your teammates, so enemies who push through one lane immediately expose themselves to fire from another direction. When you are attacking, use sandbags to create temporary forward positions that let you advance in stages rather than crossing open ground in a single risky sprint.
-
Defensive placement — build sandbags at the corners of trenches to create firing positions that protect your flanks while covering the main approach
-
Offensive placement — construct sandbags in a zigzag pattern as you advance, so you always have cover between you and the enemy's known positions
-
Support placement — build sandbags near the objective point to give your teammates a safe place to regroup and resupply between pushes
-
Flank protection — place sandbags to block secondary sightlines that enemies might use to catch you off guard while you focus on the main lane
The entrenched cover mechanics also interact with the entrenched damage system in ways that reward aggressive play, because the 30% damage reduction means you can win trades against enemies who are caught in the open. When you peek out from behind a sandbag wall and exchange fire with an enemy who has no cover, you are effectively dealing 30% more damage relative to what they are dealing to you. This advantage compounds over multiple exchanges, which is why players who master building sandbags and cover positioning consistently outperform those who rely purely on aim and reaction speed.
Advanced Strategies for Securing Kills and Assists
Securing ENTRENCHED kills and assists requires more than just accurate aim, because the game's mechanics reward players who understand how to combine damage output with positioning and teamwork. The most effective players treat every engagement as a calculation, factoring in their weapon's damage, the enemy's class, the distance, and the cover situation before deciding whether to commit to the fight or fall back. When you master these calculations, you can consistently win engagements that would be lost with a more careless approach, and you will find yourself climbing the scoreboard without necessarily having the fastest reflexes.
The entrenched damage system creates natural opportunities for assists because the high health pools and damage reduction mechanics mean many fights end with the enemy at low health rather than dead. When you damage an enemy and a teammate finishes them off, you receive an assist that counts toward your score, which means even players who prefer support roles can rack up significant points. The key is to focus on dealing damage to enemies who are already engaged with your teammates, because this creates a high probability that your shots will contribute to a kill.
Positioning and Engagement Timing
The entrenched range mechanics determine which positions are viable for your chosen weapon, and the best players constantly reposition to stay within their optimal engagement distance. A sniper who stays at 150 meters can dominate an entire lane, but the same player at 50 meters becomes vulnerable to submachine gun users who can close the distance and overwhelm them with close-range firepower. Similarly, a submachine gun user who pushes too far into open ground becomes an easy target for riflemen who can engage at ranges where the SMG's damage falls off dramatically.
| Playstyle | Optimal Range | Best Positions | Weakness |
|---|---|---|---|
| Sniper | 100-200 meters | Elevated ridges, trench corners | Vulnerable at close range |
| Rifleman | 50-150 meters | Trench lines, sandbag walls | Slow fire rate up close |
| Assault | 0-50 meters | Forward positions, flank routes | Exposed in open ground |
| Support | 30-100 meters | Behind sandbags, near objectives | Limited mobility |
The entrenched cover mechanics also influence your positioning decisions, because the best positions are those that offer cover while still allowing you to engage at your weapon's optimal range. When you find a position that combines good sightlines with sandbag protection, you create a force multiplier that lets you win fights against multiple enemies who have to approach through open ground. This is why the most experienced players spend as much time studying the map and identifying strong positions as they do practicing their aim, because positioning is often the difference between a 20-kill game and a 5-kill game.
Frequently Asked Questions
How do assists work in ENTRENCHED?
Assists in ENTRENCHED trigger when you deal at least 20% of an enemy's health in damage and a teammate secures the kill within roughly five seconds. Because the damage system tracks per-player contributions, one solid rifle shot that weakens a target before a Support or Assault class finishes them off still counts toward your score.
What is the best way to improve my ENTRENCHED kills and assists count?
Focus on learning the entrenched damage system for your preferred weapons and positioning yourself within their optimal range. Practice headshots on moving targets to maximize your damage per shot, and always use the entrenched cover mechanics to protect yourself while you engage. Consistent accuracy combined with smart positioning will naturally increase both your kills and assists.
Does bullet drop affect all weapons equally?
No, ENTRENCHED bullet drop is consistent in its rate, but faster bullets travel farther before the drop becomes significant. Bolt-action rifles have the highest bullet velocity, making them easier to use at long range, while pistols and submachine guns have slower bullets that require more leading and elevation compensation at distance.
Can I get kills through sandbags?
Sandbags provide 30% damage reduction but do not fully block bullets, so you can deal damage through them, but it will take more shots to secure a kill. Building sandbags creates cover that protects you, but you should always aim for exposed heads when shooting at enemies behind cover to maximize your damage output.
What is the best class for earning kills and assists?
The Rifleman is the best class for earning ENTRENCHED kills and assists. Its bolt-action rifle delivers one-shot headshots at most ranges, and the 100-health pool keeps you competitive in close quarters. Pair it with sandbag cover to hold angles and farm assists as teammates push objectives.